Five years ago, I wrote an article titled [Android] Everyone Can Reverse Engineer APKs. At that time, I was an Android engineer who, due to work requirements, researched basic Android reverse engineering with my colleagues. Our goal was to achieve a fully automated process: upload an APK, automatically decompile it, insert some strange things, and then repackage it.
Now, due to work requirements, I have revisited and reinforced my knowledge of APK reverse engineering and modification, and have written this series of articles to share with you.
First of all, I want to emphasize that this series is only an “introduction.” By using various tools to decompile and rebuild APKs, it should be sufficient for apps that are not obfuscated. However, if the app has been obfuscated, deeper knowledge of binary is required to unlock it, which is another world.
In any case, this series is suitable for those who have not been exposed to Android app reverse engineering and want to try it out, as well as for Android engineers who want to decompile their own apps and see what they look like. I think it’s quite useful.
Series links:
- Introduction to Android App Reverse Engineering Part 1: Decompiling and Rebuilding APKs
- Introduction to Android App Reverse Engineering Part 2: Modifying Smali Code
- Introduction to Android App Reverse Engineering Part 3: Monitoring App Packets
- Introduction to Android App Reverse Engineering Part 4: Dynamic Analysis with Frida
Start by Understanding Android App Development
I think that if you want to reverse engineer an Android app, it is helpful to have a rough understanding of how the app is developed, so that you can quickly understand what each part is doing after decompiling the app.
Therefore, I highly recommend that you find a tutorial for an Android app, install Android Studio, write a very simple app, and run it, even packaging it into an APK file. This will strengthen your understanding of the entire process.
Next, I will briefly show you how an app is developed.
First of all, an app is composed of three components:
- AndroidManifest.xml, which can be thought of as the app’s configuration file, containing various app-related information.
- Resources, including layout, strings that appear in the program, images, and all other information.
- Code
Below is a screenshot of a simple project. On the left is the file structure, and on the right is the contents of AndroidManifest.xml:
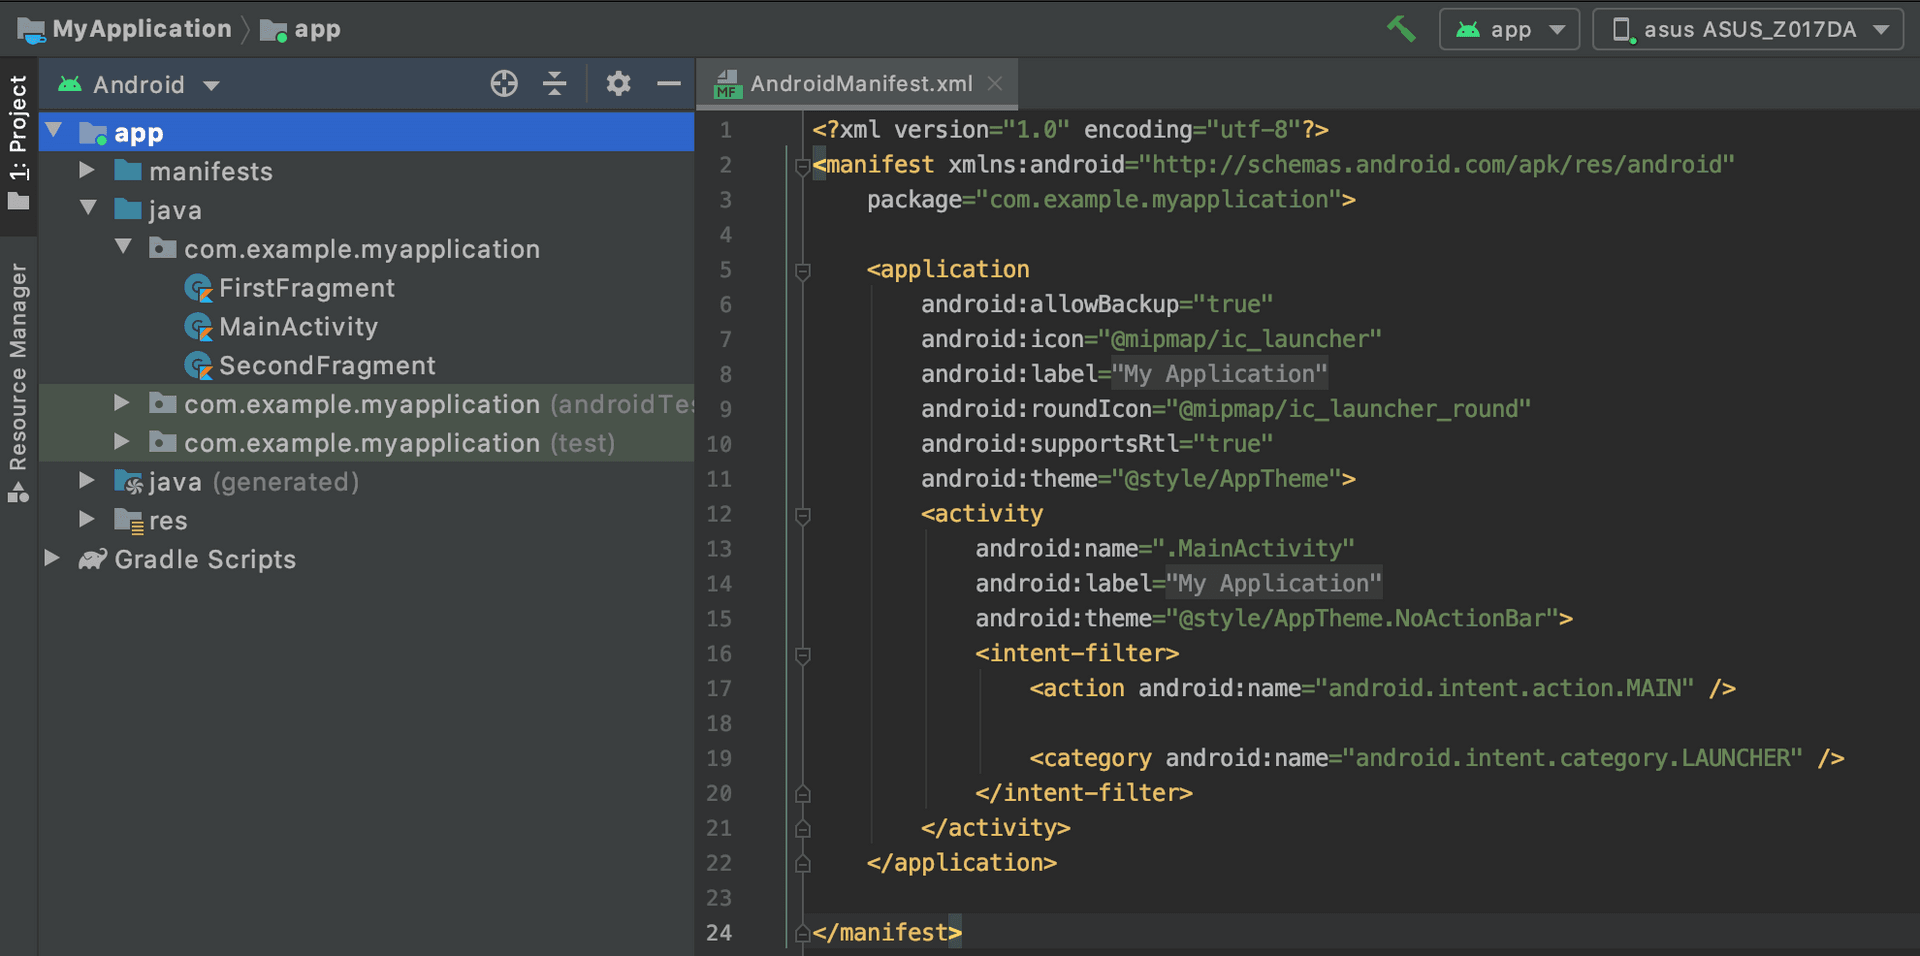
To ensure that the image is clear, the contents of the XML are shown below:
<?xml version="1.0" encoding="utf-8"?>
<manifest xmlns:android="http://schemas.android.com/apk/res/android"
    package="com.example.myapplication">

    <application
        android:allowBackup="true"
        android:icon="@mipmap/ic_launcher"
        android:label="@string/app_name"
        android:roundIcon="@mipmap/ic_launcher_round"
        android:supportsRtl="true"
        android:theme="@style/AppTheme">
        <activity
            android:name=".MainActivity"
            android:label="@string/app_name"
            android:theme="@style/AppTheme.NoActionBar">
            <intent-filter>
                <action android:name="android.intent.action.MAIN" />

                <category android:name="android.intent.category.LAUNCHER" />
            </intent-filter>
        </activity>
    </application>

</manifest>
From this file, we can learn several things, including:
- The package name of this app is
com.example.myapplication. - This app has an activity named
MainActivity, which is the main activity.
Each app has a unique package name, which can be thought of as the app’s ID and is written in the AndroidManifest. This is also related to the file structure of your code, as anyone who has written Java knows.
If you go to the web version of Google Play, you will find that the URL contains the package name. For example, the URL of Facebook’s page looks like this: https://play.google.com/store/apps/details?id=com.facebook.katana&hl=zh_TW&gl=US
Therefore, com.facebook.katana is the package name of the Facebook app.
Next, let’s look at the second point. What is an activity?
You can think of an activity as a “screen.” Each screen is an activity. Therefore, if it is an app that requires registration to use, there may be the following screens:
- Welcome page
- Registration page
- Login page
- Main page (displayed after successful login)
Each of these pages is an activity, and each activity may have a layout. In Android development, a layout is actually an XML file, which looks like this:
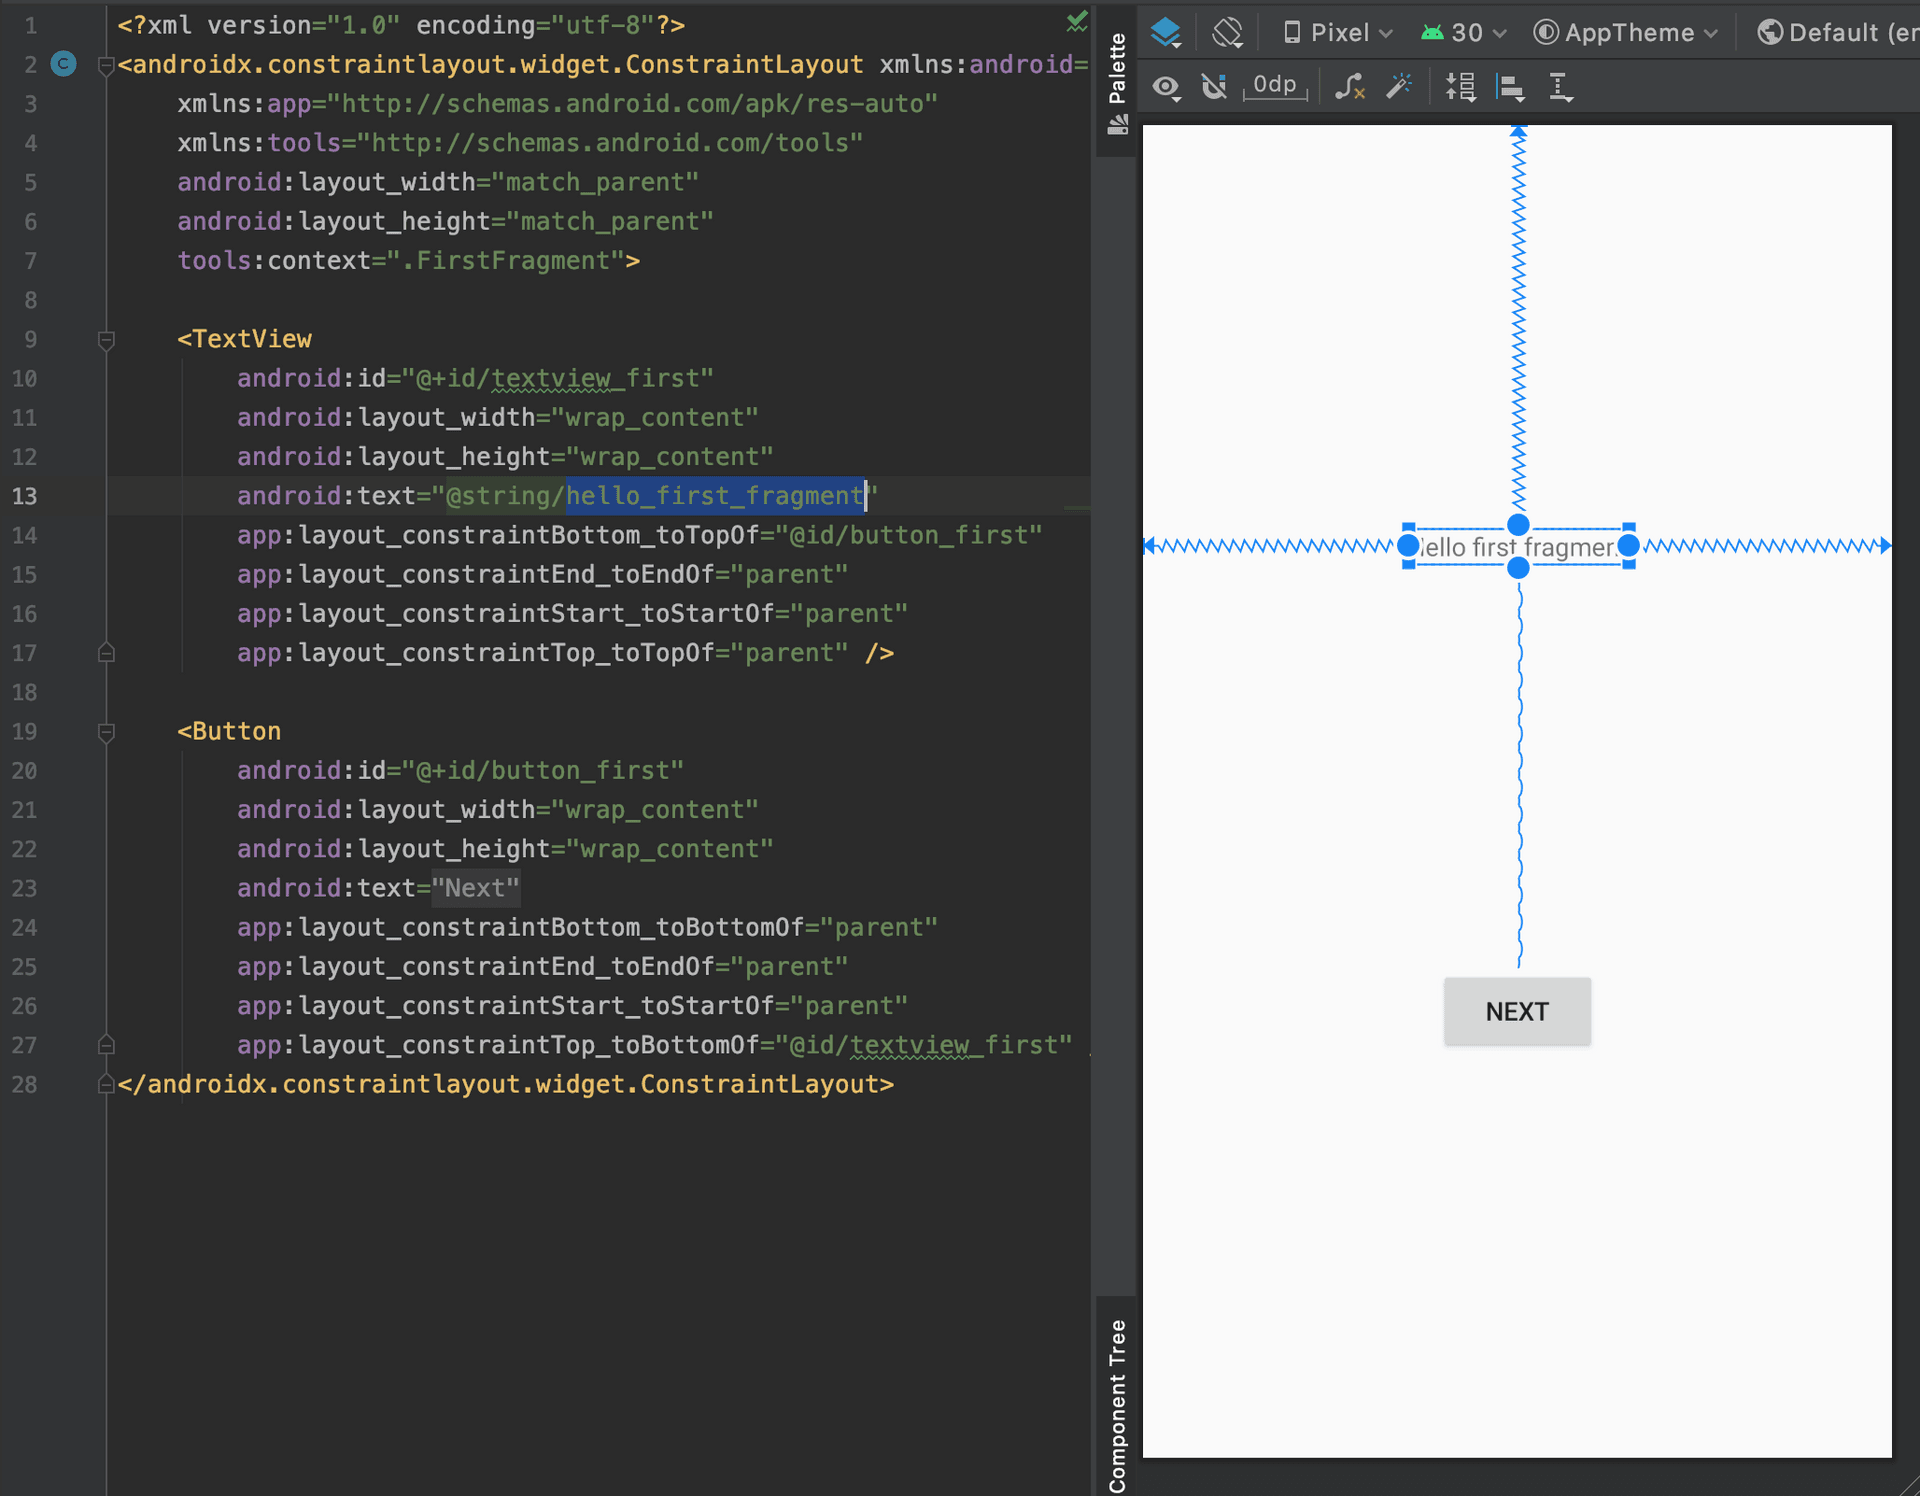
The right side is what you see, and the left side is the XML file of the layout. This is similar to the relationship between the screen and HTML+CSS in web front-end development, except that in Android development, the layout is generated using XML instead of HTML+CSS.
Layouts are a type of resource and are placed in the res folder.
There are two things worth noting about the layout file above.
The first is android:id="@+id/textview_first", which represents the component corresponding to an ID. Why do we need to correspond to an ID? Because this way we can access this component in the code, like this:
TextView tv = (TextView) findViewById(R.id.textview_first);
tv.setText("hello");
We need to find this component using the ID before we can change its text.
The second thing worth noting is android:text="@string/hello_first_fragment", which is actually the text that the component will display. If I write: android:text="hello", the screen will display hello.
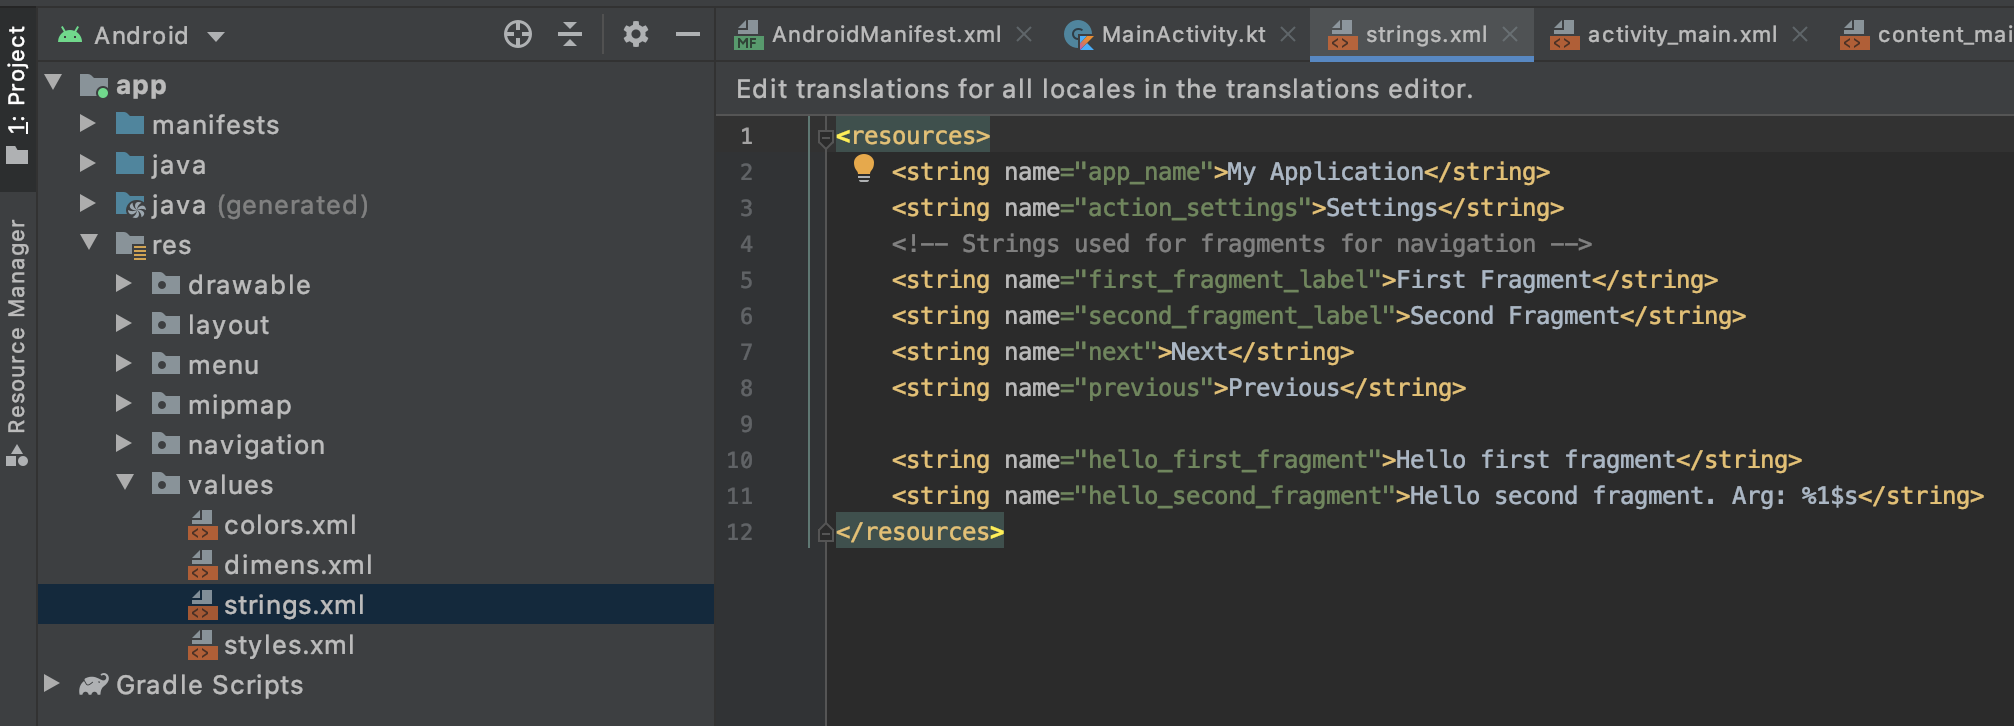
So why is the content above @string/hello_first_fragment? We can take a look at the file res/values/strings.xml:
The content is:
<resources>
    <string name="app_name">My Application</string>
    <string name="action_settings">Settings</string>
    <!-- Strings used for fragments for navigation -->
    <string name="first_fragment_label">First Fragment</string>
    <string name="second_fragment_label">Second Fragment</string>
    <string name="next">Next</string>
    <string name="previous">Previous</string>

    <string name="hello_first_fragment">Hello first fragment</string>
    <string name="hello_second_fragment">Hello second fragment. Arg: %1$s</string>
</resources>
We can see that there is a string named hello_first_fragment inside, and the content is Hello first fragment.
Using this method, we can avoid hard-coding strings directly in the layout and avoid writing strings directly. Why avoid hard-coding? Because we want to do multilingualism!
If you want to make an English version, you can actually create a new file called res/values/strings-en.xml or something similar. When Android detects that the operating system is in English, it will automatically fetch the strings in this file. In this way, you only need to change the string file, without touching the code.
The above is a basic introduction to Android apps, including:
- What is AndroidManifest for?
- What is an activity?
- What are the uses of various XML files?
After understanding these, we can start to decompile the APK.
I wrote a simple example app, the link is here: https://github.com/aszx87410/demo/raw/master/android/demoapp.apk
After running, it looks like this, small and cute:
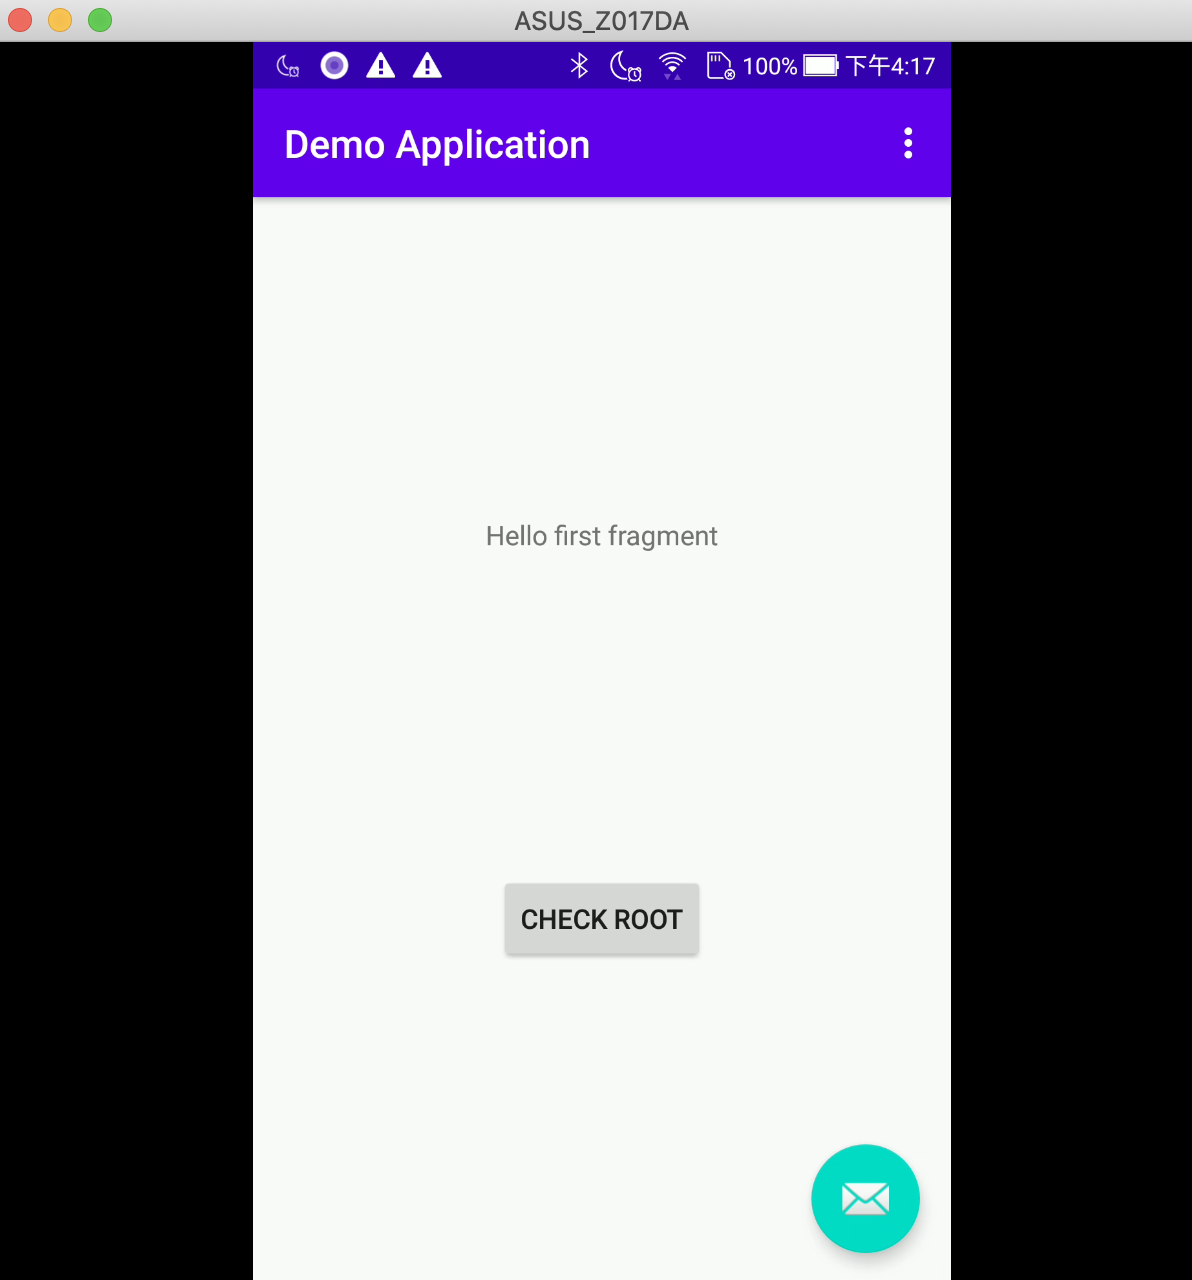
After clicking Check root, it will check whether the device has root and change the text on the screen.
Simple APK decompilation
Actually, APK is a compressed file, so we can directly use the built-in command to unpack the APK:
unzip demoapp.apk -d demoappAfter unpacking, it looks like this:
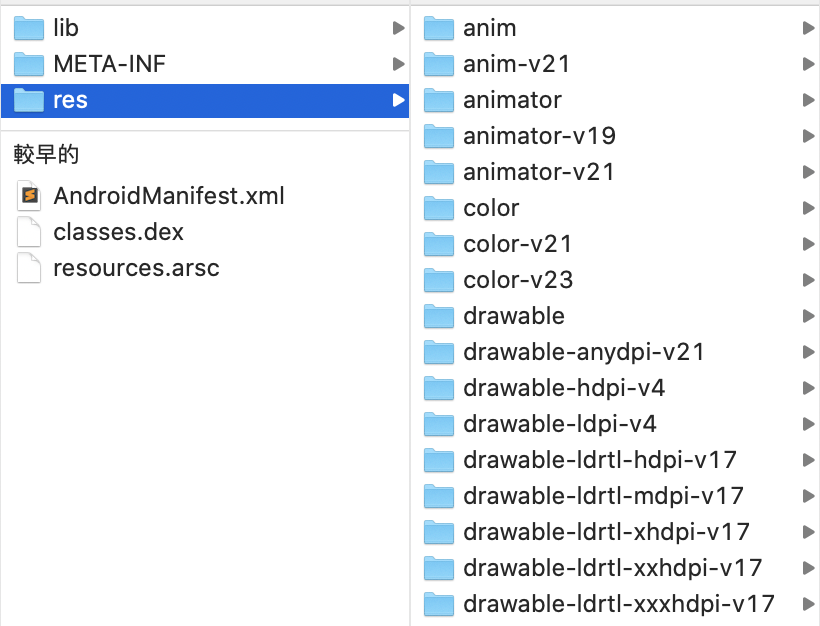
There are several folders and files:
- lib - used to store native code, will be discussed later
- META-INF - some signature-related information
- res - seen when writing the app
- AndroidManifest.xml - same as above
- classes.dex - the result of compiling the code into dex
- resources.arsc - index table related to resources
Let’s talk about what resources.arsc is for. If you open any file under the res folder, you will find that the content is not pure text, but a bunch of hexadecimal things, like this:
0300 0800 8401 0000 0100 1c00 a800 0000
0700 0000 0000 0000 0001 0000 3800 0000
0000 0000 0000 0000 0f00 0000 1a00 0000
2600 0000 3000 0000 3800 0000 4200 0000
0c0c 696e 7465 7270 6f6c 6174 6f72 0008
0864 7572 6174 696f 6e00 0909 6672 6f6d
416c 7068 6100 0707 746f 416c 7068 6100
0505 616c 7068 6100 0707 616e 6472 6f69
6400 2a2a 6874 7470 3a2f 2f73 6368 656d
This is because these XML files have been compiled and need to be combined with resources.arsc to restore them to text form.
classes.dex is also compiled and needs to be decompiled further to see its contents.
From the above, we can see that although it is possible to manually unpack an APK using decompression, there is not much useful content to be seen. To further see the contents, we need other tools to do this.
Using Apktool to disassemble APK
The unzip used just now only simply unpacks the compressed file, and the website of Apktool writes explicitly: A tool for reverse engineering Android apk files, indicating that it is used to disassemble APK.
I won’t write about the details of downloading and installing, you can refer to the official website: https://ibotpeaches.github.io/Apktool/ or other resources on the Internet.
Next, let’s use Apktool to disassemble the demoapp just now:
# d stands for decode
# -f stands for --force, delete demoapp folder first if exists
apktool d -f demoapp
After disassembling, you can see the file structure below:
.
├── AndroidManifest.xml
├── apktool.yml
├── lib
├── original
├── res
└── smali
The difference between this and the one we unpacked with a compressed file is that there is no resources.arsc, and there is no classes.dex. The former is because the resources have been restored to text files, and the latter has been restored to files under the smali folder, which will be mentioned in the next article.
Next, let’s change the text on the screen.
Open res/values/strings.xml and search for: Hello first fragment, you will find this paragraph:
<string name="hello_first_fragment">Hello first fragment</string>We directly change the content to:
<string name="hello_first_fragment">Hacked!</string>Next, just repackage the APK and install it, and you should be able to see the modified text.
Repackaging APK
In addition to disassembling APK, Apktool can also reassemble APK. The command is as follows:
apktool b demoapp -o demoapp2.apkIf there is an error during packaging, you can use:
apktool b --use-aapt2 demoapp -o demoapp2.apkIf there is no accident, you will see a demoapp2.apk file in the folder. But if you install this file directly, an error will occur:
adb: failed to install demoapp2.apk: Failure [INSTALL_PARSE_FAILED_NO_CERTIFICATES: Failed to collect certificates from /data/app/vmdl1575742168.tmp/base.apk: Attempt to get length of null array]This is because after the APK file is packaged, it needs to go through two procedures: align and sign, before it can be installed on the phone.
Align is for performance considerations, and sign is for security.
When uploading a new APK on the Google Play backend, Google will check whether the signature used for signing the APK is the same as before. If it is different, you will not be allowed to upload it. In this way, even if the attacker obtains the victim’s account, he cannot upload a new APK because the signature does not match.
Let’s first generate a new signature:
keytool -genkey -v -keystore my-release-key.jks -keyalg RSA -keysize 2048 -validity 10000 -alias my-aliasEnter 123456 when asked for a password, and you can leave other fields blank. After execution, you will see a my-release-key.jks file.
Next, I wrote a simple script to automatically remove the old version + build + align + sign + install:
# compile.sh

# remove old app
adb uninstall com.cymetrics.demo

# remove old apk
rm -f demoapp2.apk
rm -f demoapp2-final.apk
rm -f demoapp2-aligned.apk

# build
apktool b --use-aapt2 demoapp -o demoapp2.apk

# align
zipalign -v -p 4 demoapp2.apk demoapp2-aligned.apk

# sign
apksigner sign --ks my-release-key.jks --ks-pass pass:123456 --out demoapp2-final.apk demoapp2-aligned.apk
adb install demoapp2-final.apk
After running the script, open the app, and if there is no accident, you will see that the text has been changed by us:

Yes, modifying a simple app is that simple.
Summary
In this article, we learned some basics of Android development, used Apktool to disassemble APK, saw the resources files inside, and re-packaged the modified APK file and installed it on the phone, making a modified version of the app.
If you only need to change the text resources, it’s that easy, but if you need to modify the code, it’s relatively more complicated.
In the next article, we will learn how to decompile smali into Java code and how to modify smali code.
Series links:
- Introduction to Android App Reverse Engineering Part 1: Decompiling and Rebuilding APKs - You are here
- Introduction to Android App Reverse Engineering Part 2: Modifying Smali Code
- Introduction to Android App Reverse Engineering Part 3: Monitoring App Packets
- Introduction to Android App Reverse Engineering Part 4: Dynamic Analysis with Frida
Comments