It’s been a long time since I made any major changes to my blog structure. Hexo has already released v6, and v7 is currently in beta, but my blog is still on hexo3.
Recently, I had some free time and decided to update my blog, and also use chatGPT as a helper.
The changes I made this time are:
- Upgraded Hexo version
- Modified syntax highlight
- Dark mode
- Automatic translation (highlight)
Upgraded Hexo version
The upgrade was smoother than I expected. I installed npm-upgrade following the tutorial I found online, and after running it, the upgrade was done. There wasn’t much to adjust after the upgrade.
It was really smooth!
Modified syntax highlight
I used to use highlight.js, but I wanted to switch to another one for a long time because it doesn’t support JSX.
After upgrading, I found that Hexo has built-in support for another one called Prism.js, so I switched to it. I just needed to modify the configuration file and manually add the style, which was quite simple.
The only trouble was that some classes conflicted with other libraries, so I had to adjust them manually.
Dark mode

I used Bulma CSS library for my theme, but it doesn’t support dark mode, so I had to create one myself.
The way I did it was quite simple. I first found the color of every word and background on the page and replaced them with CSS variables. Finally, I added some simple JavaScript to complete it.
The CSS part looks like this:
:root {
  --main-text-color: #4a4a4a;
  --main-bg-color: white;
  --main-border-color: #dbdbdb;
  --title-text-color: #363636;
  --link-text-color: #3273dc;
  --link-hover-text-color: #363636;
  --code-bg-color: whitesmoke;
  --code-text-color: #ff3860;
  --tag-bg-color: whitesmoke;
  --tag-text-color: #363636;
  --quote-bg-color: whitesmoke;
  --nav-link-text-color: darkgray;
  --notice-bg-color: #ffe4c4;
  --archive-time-color: #888;
  --archive-hover-border-color: black;
}

body.dark-mode {
  --main-text-color: #f8f8f8;
  --main-bg-color: #061320;
  --main-border-color: #dbdbdb;
  --title-text-color: #fafafa;
  --link-text-color: #27ebda;
  --link-hover-text-color: #98fff6;
  --code-bg-color: #324b7e;
  --code-text-color: #f7f7f7;
  --tag-bg-color: whitesmoke;
  --tag-text-color: #363636;
  --quote-bg-color: #49495e;
  --nav-link-text-color: #b4b5b4;
  --notice-bg-color: #257800;
  --archive-time-color: #ddd;
  --archive-hover-border-color: #51ce97;
}
And the JavaScript looks like this:
if (localStorage.getItem('dark-mode')) {
    if (localStorage.getItem('dark-mode') === 'true') {
        document.body.classList.add('dark-mode')
    }
} else {
    if (window.matchMedia && window.matchMedia('(prefers-color-scheme: dark)').matches) {
        document.body.classList.add('dark-mode')
    }
}
It took me about half a day to modify and test it, and then it was done.
I also solved the problem of CSS size and used this service to remove unused CSS: https://purifycss.online/
Although there may still be some residual or mistakenly deleted CSS, remember to check it again after using it.
Automatic translation
The highlight of this update is the automatic translation feature, which relies heavily on chatGPT.
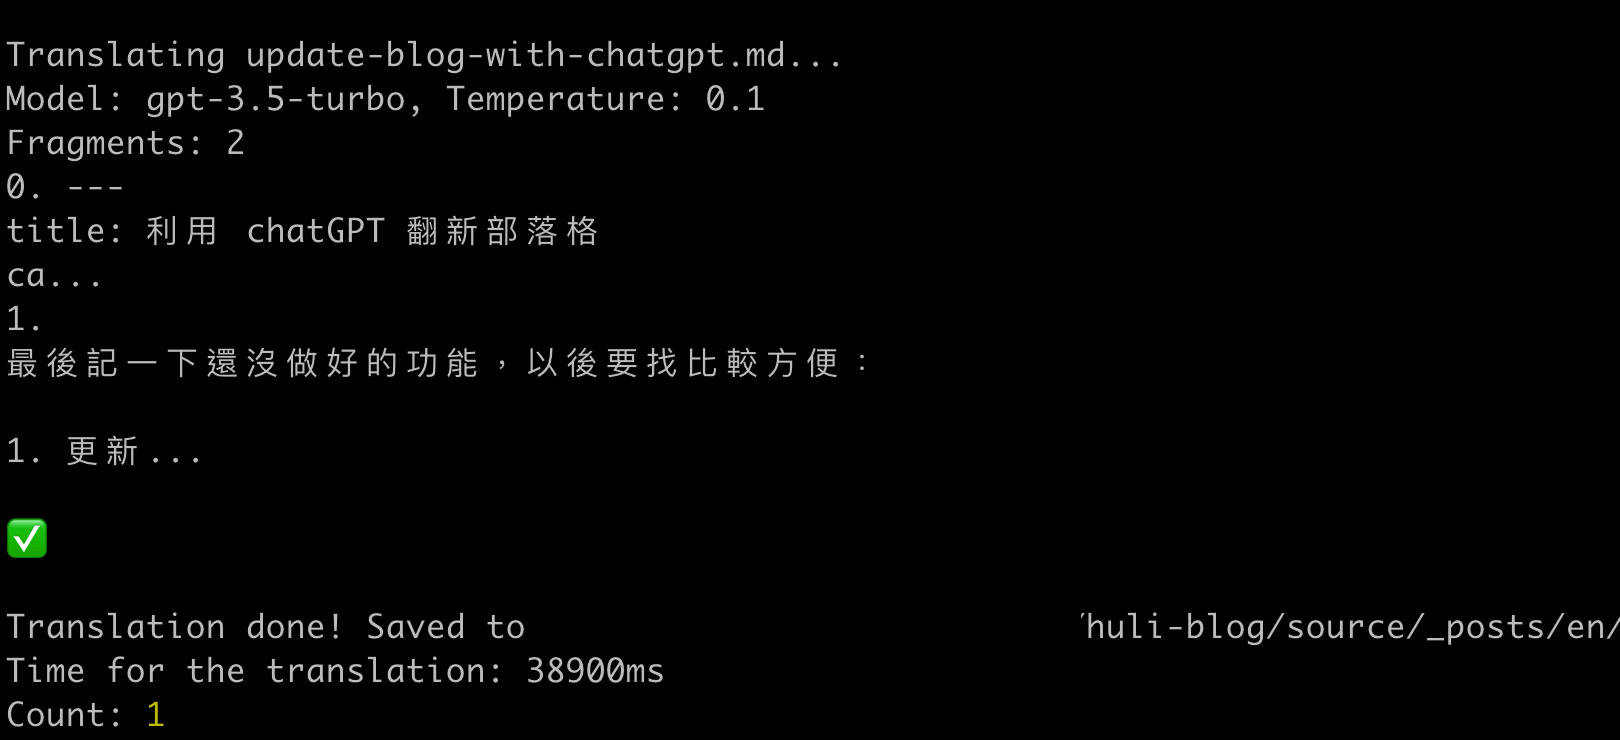
The most important part of the translation is done by markdown-gpt-translator, which automatically divides the text into paragraphs and calls the API, and then assembles the results.
Another great thing is that code blocks are not uploaded, so it saves a lot of tokens, but be aware that comments in code blocks need to be translated manually.
After verifying that this translation library can be used, I started to modify it and integrate it with the automatic translation feature I wanted.
And because the TypeScript environment setup is a bit tricky, I used this tool to convert it directly to JavaScript: https://transform.tools/typescript-to-javascript
To automatically translate all the old articles, I followed these steps:
- List all the files of the articles
- Check if the translated version exists
- If it doesn’t exist, call the translation API and write it to the file
I tell chatGPT to help me write some utility functions, and I adjusted and supplemented the details and the structure.
For my own articles, it takes about a minute to translate one, and the price is about 0.02 to 0.04 dollars. After translating more than 100 articles, it cost me less than 3 dollars, which I think is quite cheap.
However, there are still many places that need to be manually adjusted. I put the code and things to note here: https://github.com/aszx87410/huli-blog/tree/master/apps/translator
Actually, after the translation was completed, I wanted to review them one by one, but I found it too time-consuming, so I left it for later.
Updating Open Graph Image
I previously wrote a small function to generate a preview image, but many articles didn’t use this function before. This time, I used chatGPT to help me write a small program that can quickly convert them.
I slightly modified the previous code, scanned all the old articles, automatically generated the missing ones, and added the correct path.
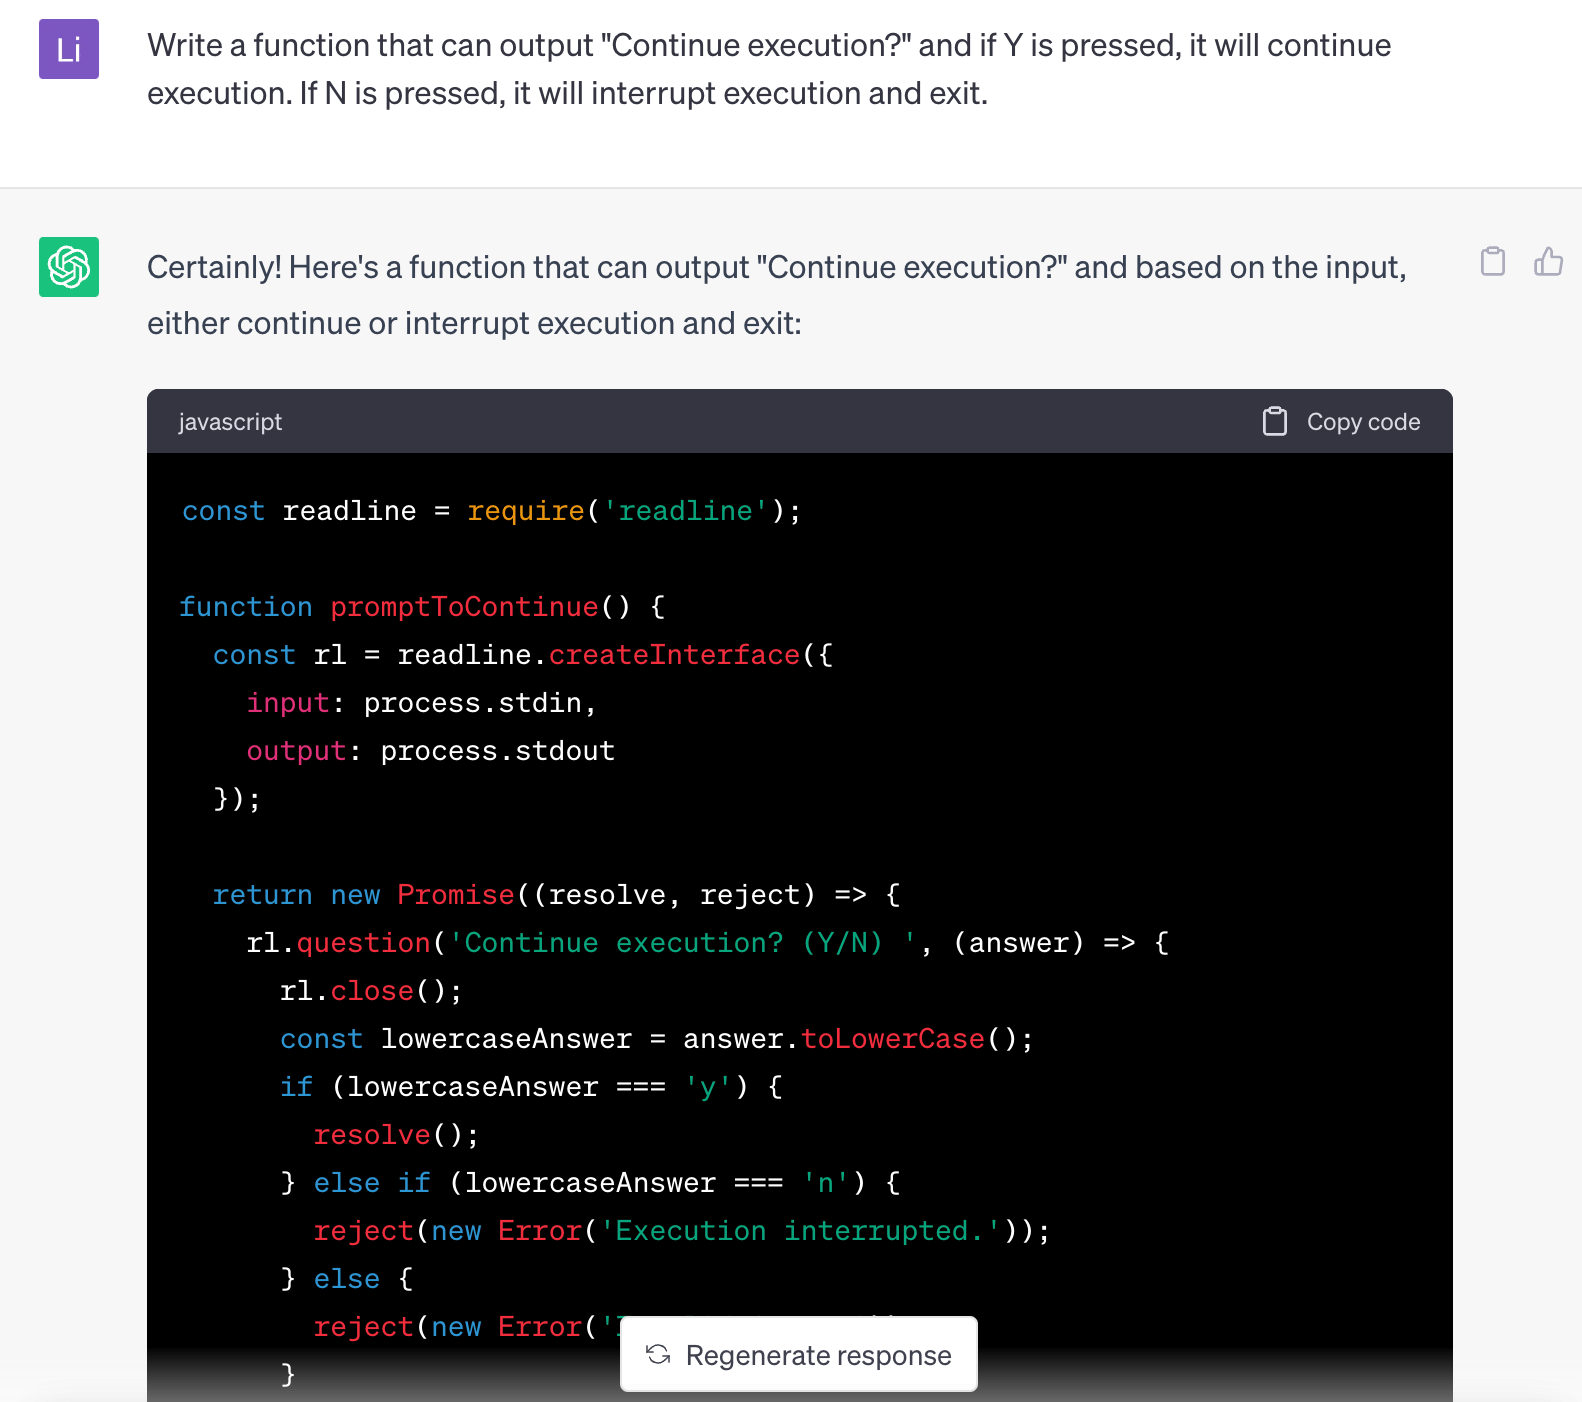
Unfinished features
Finally, a note on the unfinished features that will be more convenient to work on in the future:
- Update sitemap
- Check English article links
- Check English article content
- Modify comment system
- Modify multilingual RSS
- Automatically compress images.
Comments