For those who write code, no matter which programming language or development environment they use, they will need to execute some commands at some point. This is when they will open the terminal and start typing commands. The most commonly used commands are cd, ls, git, ssh, rsync, etc. However, the built-in terminal is actually quite difficult to use. Today, I want to recommend a better option to you.
iTerm2 can replace your terminal. After installing it, you will never want to open the built-in terminal again, but instead open this application. What are the benefits of using this? First, there are many settings that can be adjusted and personalized. Second, the interface looks better and is easier to operate. Third, you can open many tabs, just like using a browser, and it is also easy to split the screen if you need to.
After setting up the appearance, you can start installing zsh. What is zsh? Let’s start with bash. No matter whether you open iTerm2 or the built-in terminal, the screen that appears is running bash, so bash is also a program that can be replaced. I have used two sets of shells, one is zsh, and the other is fish. In fact, I used fish quite well, but I found that zsh seems to have more plugins and themes, so I switched to it. I think the built-in features of fish are enough, especially the auto-suggestion feature, which is super powerful and impressive every time I use it.
As for zsh, it is actually built-in on Mac, but in addition to this, the recommended must-have is called oh-my-zsh. It helps you download some themes, plugins, and settings. In short, it can be regarded as a lazy version of zsh, and there are many things you can use after installing it.
~/.zshrc is your configuration file. You can adjust everything here.
After installing it, the first thing to do is, of course, to change the theme, or you can also use random, which will use a different theme every time you open it, which is also quite special. agnoster is a pretty fancy theme. Before installing it, remember to install the font, and adjust the font in Preference -> Profile -> Text in iTerm2, so that you can see some special symbols correctly.
I use the tonotdo theme and then modify it. The time was originally on the far right, but I moved it to the far left and added some colors. This theme is quite easy to modify. The file is in ~/.oh-my-zsh/themes/tonotdo.zsh-theme. I changed the first three lines to:
PROMPT='%{$fg_no_bold[yellow]%}[%*] %{$fg_no_bold[cyan]%}%n%{$fg_no_bold[red]%} ➜ %{$fg_no_bold[green]%}%3~$(git_prompt_info)%{$reset_color%}» 'You can try to modify it yourself, it’s quite easy.
After installing the theme, you can start installing plugins. The oh-my-zsh wiki introduces what each built-in plugin does. You can use it by adding some words to the configuration file. By default, only git is enabled. If you want to install more, you can find them in awesome-zsh-plugins. I installed zsh-autosuggestions.
That’s about it for the introduction. The rest is personal configuration and fine-tuning, or installing some plugins that you find useful. Attached is a screenshot of my iTerm2 as the ending.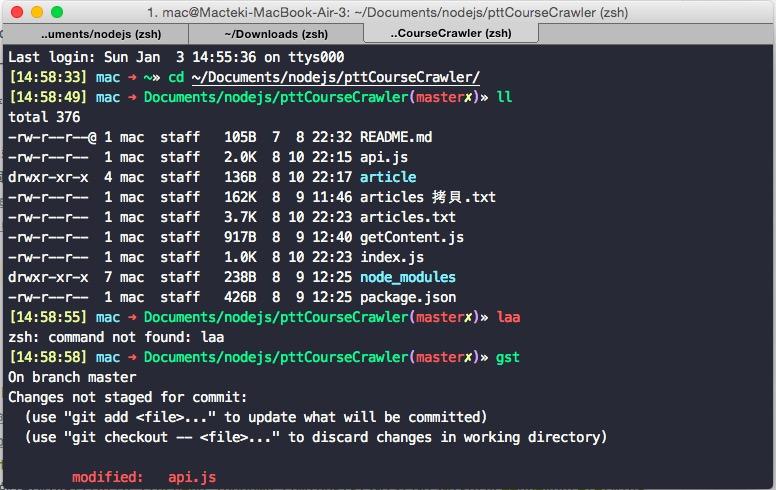
Reference:
Comments